Tag: John Constable
-
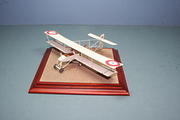
RE8
-
RE8
-

RE8
-
RE8
-
RE8
-
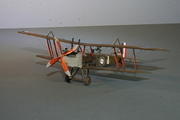
RE8
-
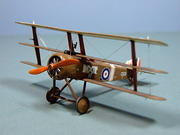
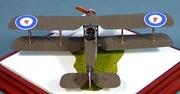
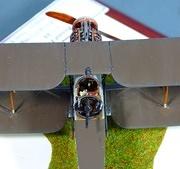
Sopwith Triplane
-
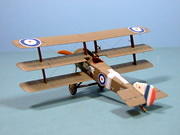
Sopwith Triplane
-
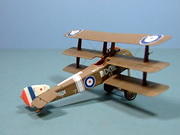
Sopwith Triplane
-
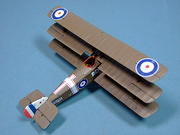
Sopwith Triplane
-
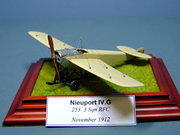
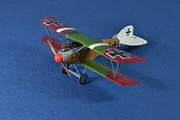
Nieuport IVG
-
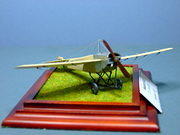
Nieuport IVG
-
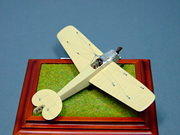
Nieuport IVG
-
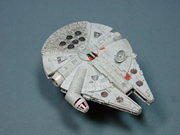
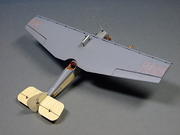
Millenium Falcon
-
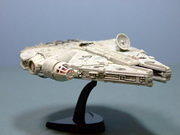
Millenium Falcon
-
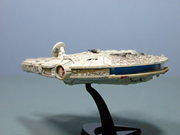
Millenium Falcon
-
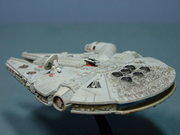
Millenium Falcon
-
Voisin III
-
Sopwith Camel
-
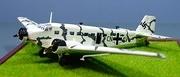
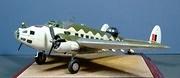
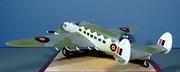
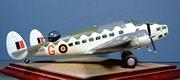
Junkers Ju52, "Where Eagles Dare," 1:144
-
Junkers Ju52, "Where Eagles Dare," 1:144
-
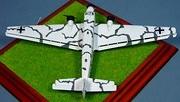
Junkers Ju52, "Where Eagles Dare," 1:144
-
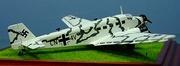
Junkers Ju52, "Where Eagles Dare," 1:144
-
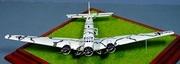
Junkers Ju52, "Where Eagles Dare," 1:144
-
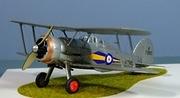
Gloster Gladiator I, 1:72
-
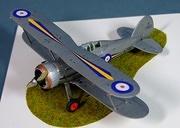
Gloster Gladiator I, 1:72
-
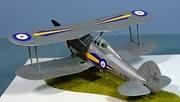
Gloster Gladiator I, 1:72
-
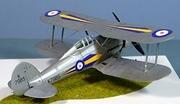
Gloster Gladiator I, 1:72
-
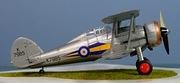
Gloster Gladiator I, 1:72
-
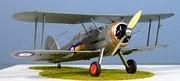
Gloster Gladiator I, 1:72
-
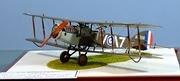
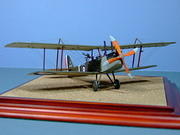
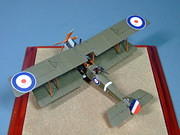
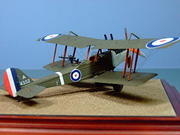
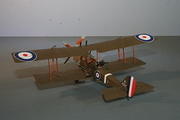
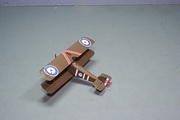
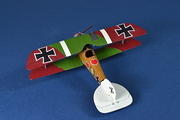
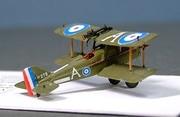
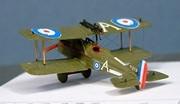
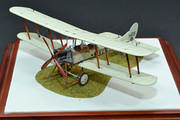
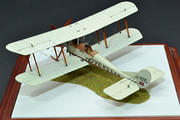
Bristol F.2b FIghter, 11 Sqn RFC, Frere-en Tendois, Nov 1917, 1:72
-
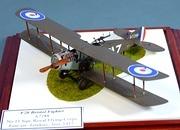
Bristol F.2b FIghter, 11 Sqn RFC, Frere-en Tendois, Nov 1917, 1:72
-
Bristol F.2b FIghter, 11 Sqn RFC, Frere-en Tendois, Nov 1917, 1:72
-
Bristol F.2b FIghter, 11 Sqn RFC, Frere-en Tendois, Nov 1917, 1:72
-
Bristol F.2b FIghter, 11 Sqn RFC, Frere-en Tendois, Nov 1917, 1:72
-
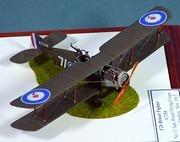
Bristol F.2b FIghter, 11 Sqn RFC, Frere-en Tendois, Nov 1917, 1:72
-
Albatross D.III
-
Albatross D.III
-
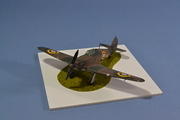
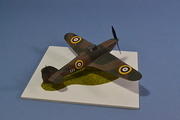
Hurricane 1:72
-
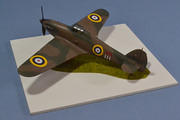
Hurricane 1:72
-
Hurricane 1:72
-
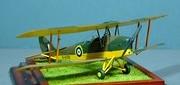
De Havilland Tiger Moth, RAF, 1:72
-

De Havilland Tiger Moth, RAF, 1:72
-
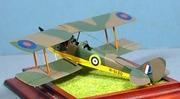
De Havilland Tiger Moth, RAF, 1:72
-

Curtis JN4 (Can)
-
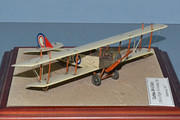
Curtis JN4 (Can)
-
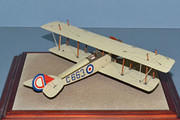
Curtis JN4 (Can)
-
RAAF Hudson IIIa, 459 Sqn, 1:72
-
RAAF Hudson IIIa, 459 Sqn, 1:72
-
RAAF Hudson IIIa, 459 Sqn, 1:72
-
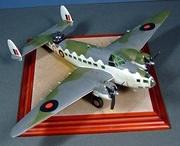
RAAF Hudson IIIa, 459 Sqn, 1:72
-

HMS Exmouth, 1/700
-
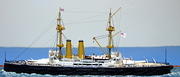
HMS Exmouth, 1/700
-
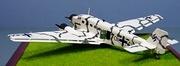
Handley Page Type X4B (HP20)
-
Handley Page Type X4B (HP20)
-
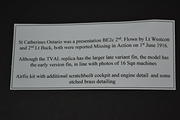
BE2c, 16 Sqn 1916
-
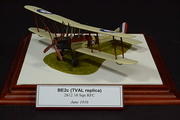
BE2c, 16 Sqn 1916
-
BE2c, 16 Sqn 1916
-

BE2c, 16 Sqn 1916
-
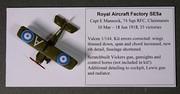
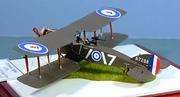
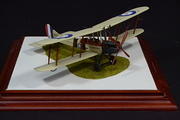
Royal Aircraft Factory SE5a, 1:144
-
Royal Aircraft Factory SE5a, 1:144
-
Royal Aircraft Factory SE5a, 1:144
-
Royal Aircraft Factory SE5a, 1:144
-
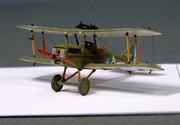
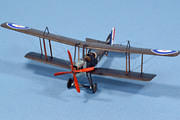
RAF BE 2c early
-
RAF BE 2c early
-
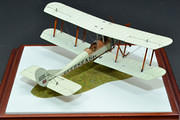
RAF BE 2c early
-
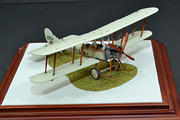
RAF BE 2c early
-
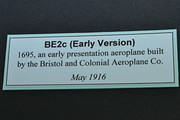
RAF BE 2c early
-
Be2e
-
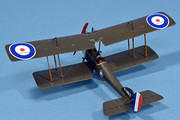
Be2e
-
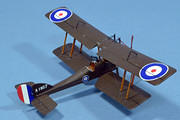
Be2e
-
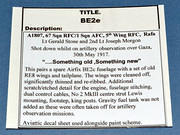
Be2e
-
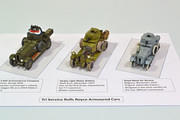
3 x Rolls Royce Armoured Cars, "The Service Rollers"
-
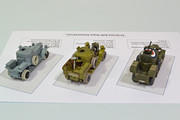
3 x Rolls Royce Armoured Cars, "The Service Rollers"
-
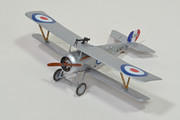
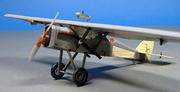
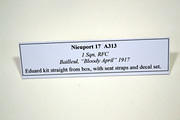
Nieuport 17, 1 Sqn RFC, 1917
-
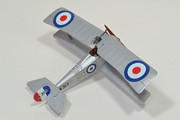
Nieuport 17, 1 Sqn RFC, 1917
-

Nieuport 17, 1 Sqn RFC, 1917
-
Nieuport 17, 1 Sqn RFC, 1917
-
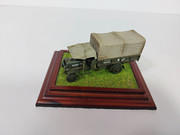
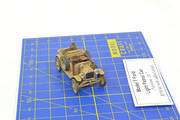
Thornycraft 3 ton
-
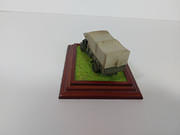
Thornycraft 3 ton
-
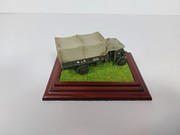
Thornycraft 3 ton
-
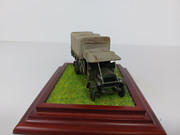
Thornycraft 3 ton
-
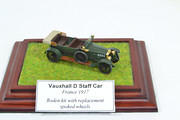
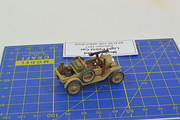
Vauxhall D Staff car, 1:72
-
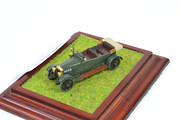
Vauxhall D Staff car, 1:72
-
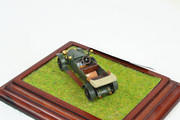
Vauxhall D Staff car, 1:72
-
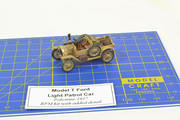
Model T Ford
-
Model T Ford
-
Model T Ford
-
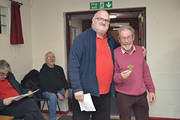
JC's 'Must Try Harder' Trophy
-
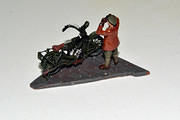
Clynomotorcycle 1917
-
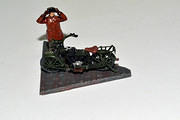
Clynomotorcycle 1917
-
Clynomotorcycle 1917
-
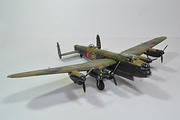
Lancaster B Mk 1 9 Sqn RAF Bardney, April 1945
-
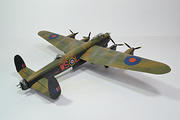
Lancaster B Mk 1 9 Sqn RAF Bardney, April 1945
-
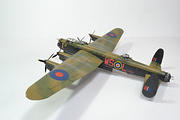
Lancaster B Mk 1 9 Sqn RAF Bardney, April 1945
-
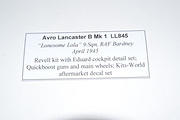
Lancaster B Mk 1 9 Sqn RAF Bardney, April 1945